How Does Texture Mapping Work?

The Basics of Texture Mapping
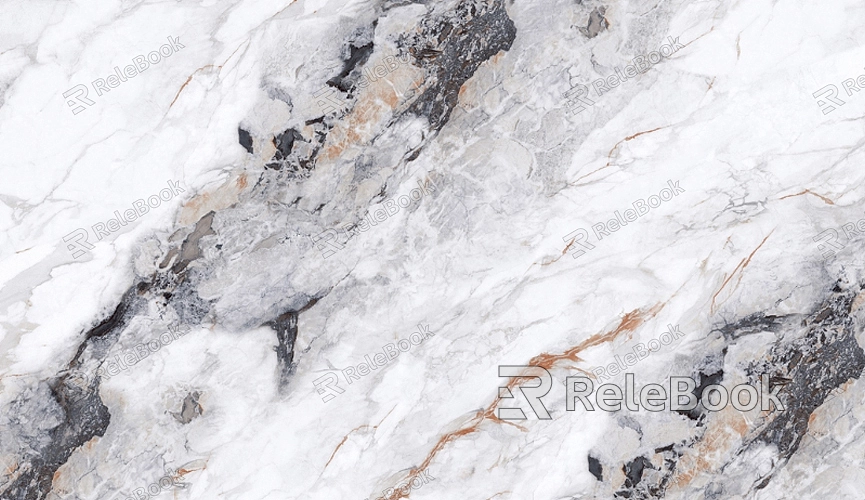
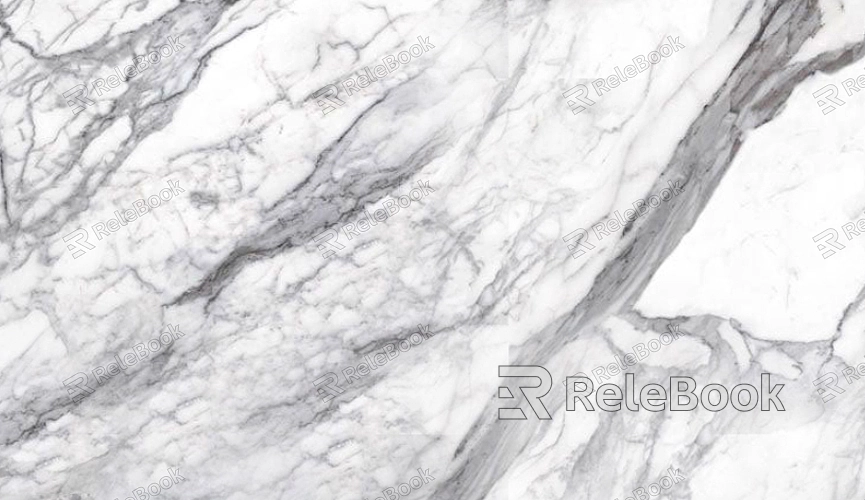
Texture mapping involves applying a 2D image to the surface of a 3D model. This technique allows developers and artists to add color, detail, and surface characteristics to objects without modifying their geometric complexity. The 2D image used is called a texture, and it can depict anything from a simple color pattern to complex surface details like wood grain or skin texture.
In essence, texture mapping is akin to wrapping a photograph around a 3D object. Just as you would carefully place a sticker on a physical object to enhance its appearance, texture mapping projects a 2D image onto a 3D model's surface. This technique allows for a high level of detail and realism while keeping the model’s geometry relatively simple.
The Process of Texture Mapping
The texture mapping process can be broken down into several key steps: UV mapping, texture application, and rendering. Each step plays a critical role in ensuring that the texture fits correctly and looks realistic on the 3D model.
1. UV Mapping
UV mapping is the first step in the texture mapping process. It involves creating a 2D representation of a 3D model’s surface. This is done by projecting the 3D model onto a flat plane, akin to peeling an orange and laying out the peel flat. The result is a UV map—a 2D layout that corresponds to the 3D model’s surface areas.
The UV map serves as a guide for applying the texture. It tells the rendering engine how to wrap the 2D texture around the 3D model accurately. This step is crucial for ensuring that textures align correctly with the model’s geometry.
2. Texture Application
Once the UV map is prepared, the next step is to apply the texture to the 3D model. This involves mapping the 2D image onto the UV coordinates of the model. The rendering engine uses these coordinates to correctly position and scale the texture on the model’s surface.
During this stage, artists can adjust various parameters such as texture scale, rotation, and offset to achieve the desired appearance. Fine-tuning these settings helps ensure that the texture fits seamlessly and looks realistic on the 3D model.
3. Rendering
Rendering is the final step in the texture mapping process. It involves generating the final image by combining the 3D model with its applied textures and other visual effects. The rendering engine processes the texture information along with lighting, shadows, and reflections to produce a photorealistic image.
The quality of rendering depends on several factors, including the resolution of the texture, the complexity of the lighting setup, and the capabilities of the rendering engine. High-resolution textures and advanced rendering techniques can produce incredibly detailed and lifelike images.

Common Techniques in Texture Mapping
Several techniques and variations in texture mapping help achieve different visual effects and performance optimizations. Some of the most common techniques include:
1. Bump Mapping
Bump mapping is a technique used to simulate surface detail without modifying the actual geometry of the model. It involves using a bump map, which is a grayscale image where lighter areas create the illusion of raised surfaces and darker areas simulate depressions. This technique adds texture detail that affects the way light interacts with the surface, enhancing the visual depth and realism.
2. Normal Mapping
Normal mapping is an advanced technique that provides even more detail than bump mapping. It uses a normal map, which contains information about the direction of surface normals at each pixel. This allows for the simulation of intricate surface features like wrinkles or dents, resulting in more realistic lighting and shading effects.
3. Specular Mapping
Specular mapping controls how shiny or reflective a surface appears. It involves using a specular map, which dictates the intensity and color of specular highlights on the surface. This technique is essential for creating realistic materials like metal or water, which have distinct reflective properties.
4. Environmental Mapping
Environmental mapping, or reflection mapping, simulates reflections of the surrounding environment on a surface. This technique uses a cube map or spherical map to capture the environment and project it onto the 3D model’s surface. It’s commonly used to create realistic reflections on surfaces like glass or water.
Practical Considerations and Challenges
While texture mapping is a powerful tool for enhancing visual detail, there are several practical considerations and challenges to be aware of:
1. Texture Resolution
Higher-resolution textures provide more detail but also require more memory and processing power. Finding the right balance between texture quality and performance is crucial for creating efficient and visually appealing graphics.
2. UV Mapping Issues
UV mapping can sometimes result in texture stretching or seams, especially if the UV map is not properly aligned or if the 3D model has complex geometry. Careful planning and adjustments are necessary to minimize these issues and ensure a seamless texture application.
3. Performance Optimization
Texture mapping can impact rendering performance, particularly in real-time applications like video games. Techniques such as texture atlasing (combining multiple textures into a single image) and mipmapping (using lower-resolution textures for distant objects) can help optimize performance.
FAQ
What is a texture map?
A texture map is a 2D image applied to a 3D model’s surface to add detail, color, and texture without altering the model’s geometry.
How does UV mapping work?
UV mapping involves creating a 2D representation of a 3D model’s surface to map a texture onto the model accurately. It ensures that the texture aligns correctly with the model’s geometry.
What is the difference between bump mapping and normal mapping?
Bump mapping simulates surface detail using grayscale images to create the illusion of texture, while normal mapping provides more detailed surface information using RGB images to alter lighting and shading effects.
How can texture resolution impact performance?
Higher-resolution textures offer more detail but can increase memory usage and processing requirements, potentially affecting performance. Balancing texture quality with performance needs is essential.
What is mipmapping?
Mipmapping is a technique that uses lower-resolution versions of textures for distant objects to improve rendering performance and reduce aliasing.

